How to Teach Handwriting & Pre-Writing Lines Without Tears
Handwriting meltdowns are almost always a strength problem, not an attitude problem. Here's the order that works.
Get the free printable worksheet pack for this lesson
[Free Sample] Alphabet Handwriting: Letters A–C Tracing Pack
If letter formation is causing tears, the fix is almost never "practise letters harder". It is to go back a step.
The pre-writing line sequence
Children master strokes in a predictable order. Teach them in this order and letters become easy:
- Vertical line
- Horizontal line
- Circle
- Cross
- Square
- Diagonals
- X
- Triangle
A child who cannot copy a triangle is not ready for cursive-style letters — and that is completely normal at four.
Build the hand before the pencil
- Playdough pinching and rolling
- Tearing paper strips
- Tongs and pom-poms
- Chalk on a vertical wall or easel
Pencil grip, simply
Short pencils force a tripod grip. Snap crayons in half — a two-inch crayon is physically too small to fist-grab.
Tracing that builds confidence
Use tracing printables with big, bold dashed paths and a clear start dot. Three rules:
- Trace with a finger first, then pencil
- Stop at five minutes, even if it is going well
- Never erase their work in front of them
Then move to name tracing
A child's own name is the most motivating word on earth. Once the eight pre-writing strokes are solid, personalised name-tracing pages are the natural next step — same strokes, real meaning.
Slow is fast here. Two weeks of strokes saves two months of frustration.
Join the Annual VIP Club
Unlock the entire Pre-K to 1st Grade library — new printables every week, unlimited downloads.
See VIP pricing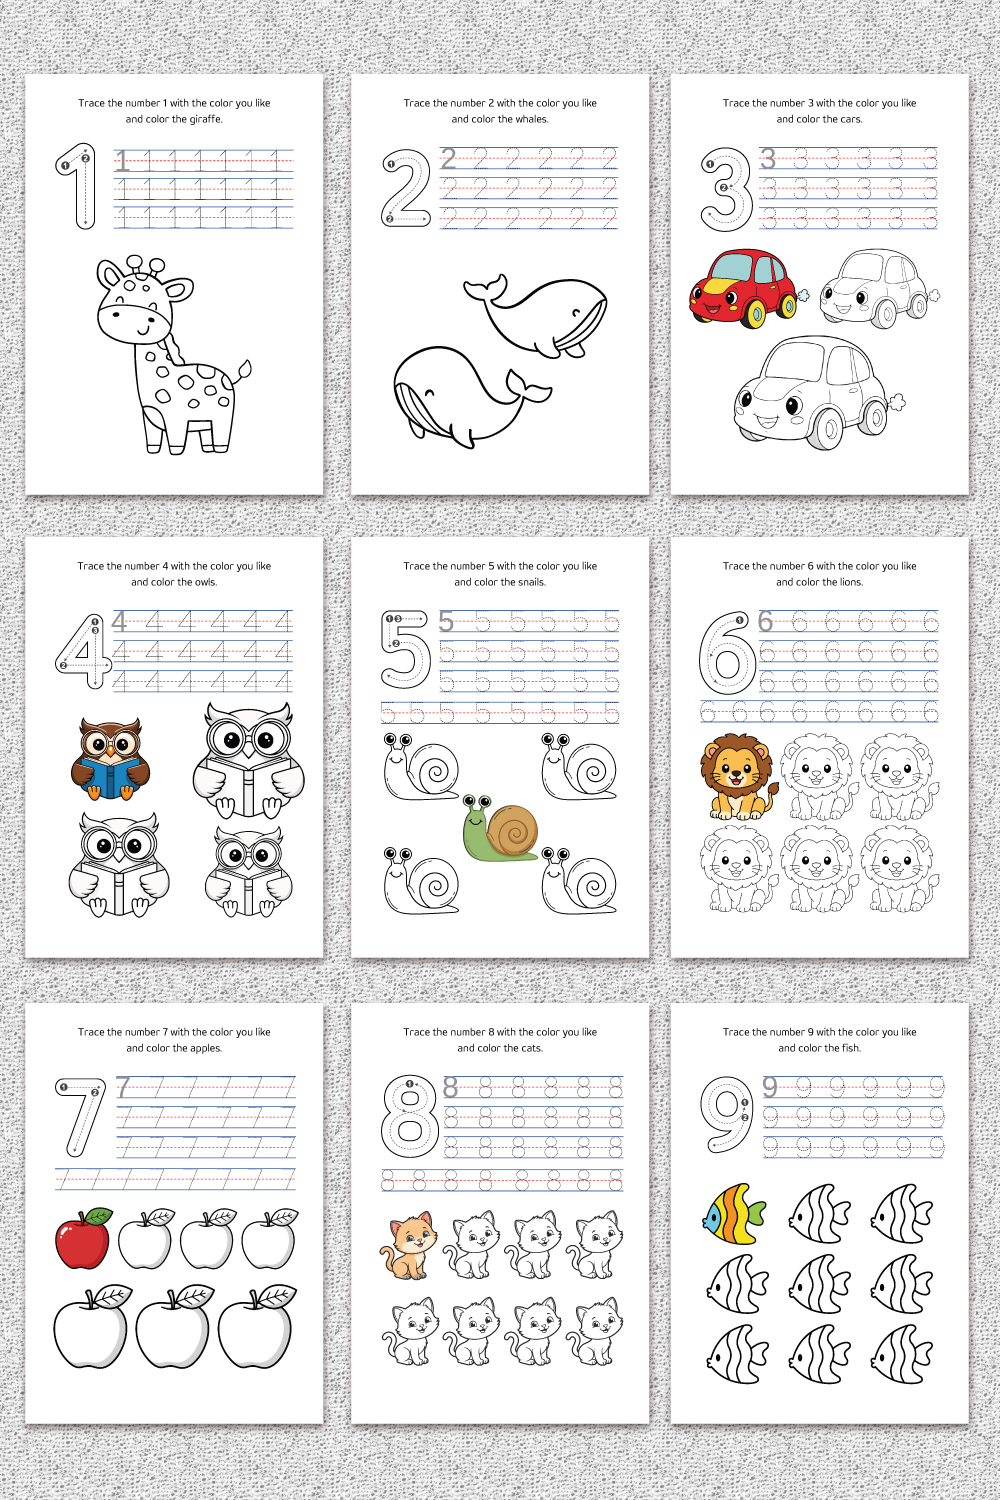
![[Free Sample] Alphabet Handwriting: Letters A–C Tracing Pack](https://fqpafdvujhmbrwvvhguw.supabase.co/storage/v1/object/public/covers/alphabet-handwriting-tracing-master-a-z-cover.jpg)